


Xavier’s Discolele Costume
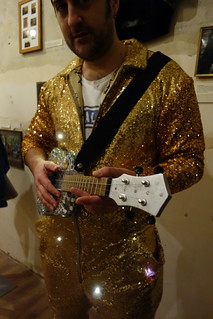
Our dear friend Xavier aka “Facil Gold” has commissioned us to create a golden jumpsuit for his new discolele performance. The whole idea started with a small joke over nice wine imagining an ukulele that makes a “piu-piu” cheap laser gun sound from old SF, covered in mirror, sound like electric guitar and make a disco act. As Xavier phrased as “it is a bad (and good) idea to make a joke in front of these guys..”, a little joke come true! Ingo, who is an excellent hardware engineer, programmer and artist and Mika made a mirror covered, LED pimped up Ukulele, and now KOBA makes a golden jumpsuit covered with sequins and LEDs.
and here is the latest video from Facile Gold!
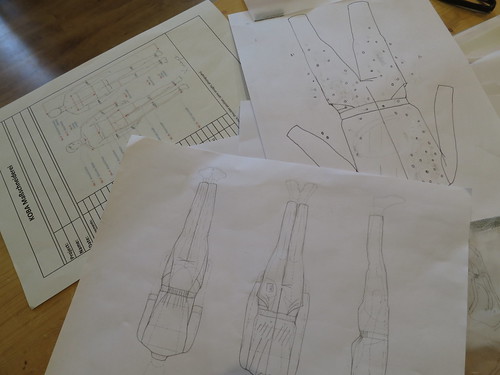

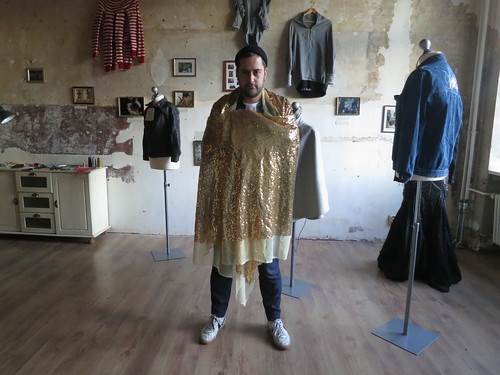
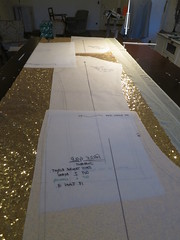
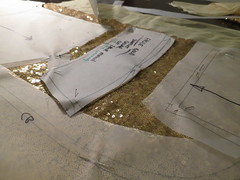
sketches and first toil test. We made this one based on Rachel’s jumpsuit size 10.
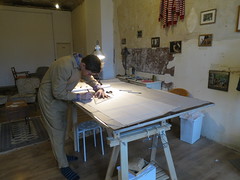
Ben, who is a professional pattern cutter helped us on developing the pattern that actually “Fits”!
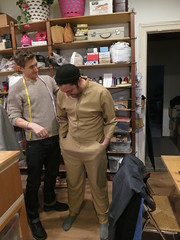

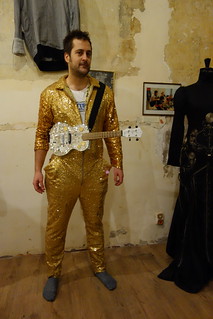
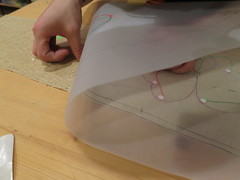
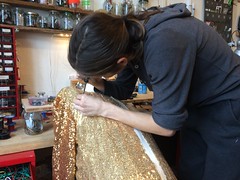
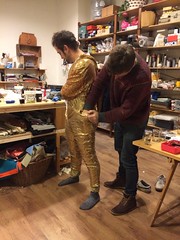
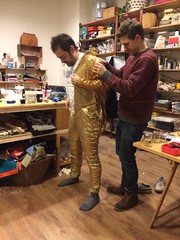
Second fitting session. Much better. We are also trying to understand which movement he needs to make during the show and see if there are enough ease in the suit to move around, and also where LEDs can be placed and electronics/battery can be stored.
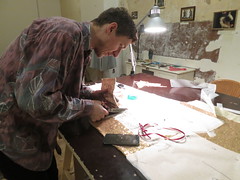
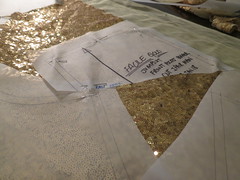
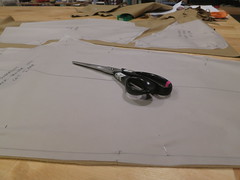
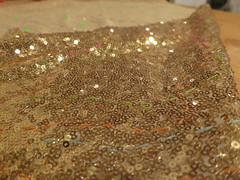
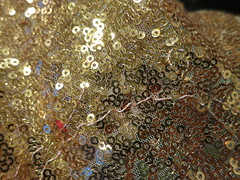
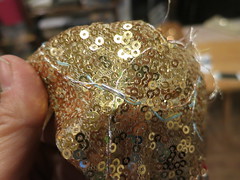
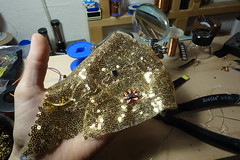
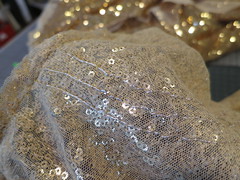
With few adjustments, the final pattern is created and Ben cuts the gold sequin fabric accordingly. This fabric is super hard to cut with scissors. He absolutely hates this work!
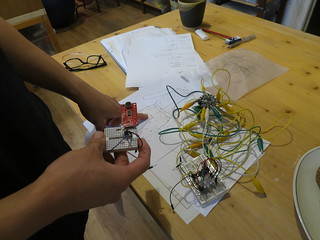
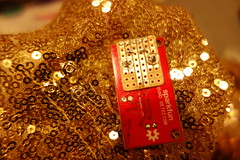
In the mean time, uper messy but working breadboard prototype is made. This is a proof of concept, in terms of hardware function. It is good enough for testing and it is working. ATTINY45 is connected to 12 LEDs with charlieplexing circuit. Flora board reads the sound detector via envelop pin (analog) and Flora sends 5v/0v trigger to the ATTINYs. There are additional button interface for Flora so one can calibrate for the sound environment to adjust the threshold. We decided to do it this way so we can expand the function of the suit later with different trigger, interface and actuators.
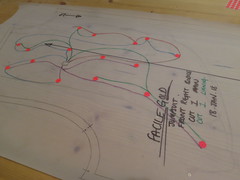
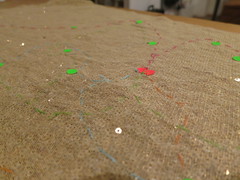
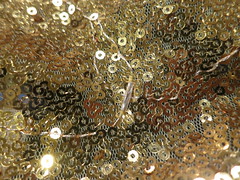
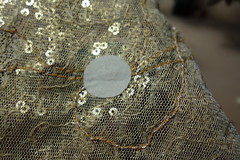
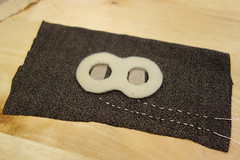
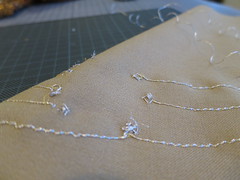
The LED circuit is planned directly on the pattern, traced onto the sequin fabric and marked with thread.

Karl Grimm silver plated copper thread is used as bobbin thread on sewing machine and stitched onto the sequin fabric from the back, so the conductive thread is on the facing side. size 4 running stitch is used for this.
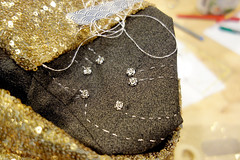
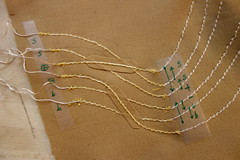
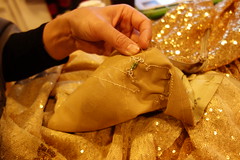
When the traces has to cross, I stopped the stitching on the crossing point, leave it long enough and cut. Then add long bead to isolate the crossing pint, and using the couching stitch and hand stitch down the conductive thread in place to the next connection point.

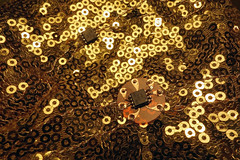
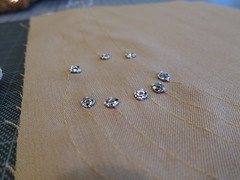
Then the SMD LED (we used PLCC2 package for this one) is soldered on the thread directly. As we are using Karl Grimm thread, we could solder on them. Unlike the photo, most of the soldering was done before assembling the panel to a suit, and tested as each panel.
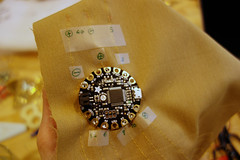
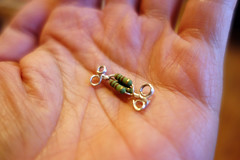
We decided to use SMD ATTINY45 to reduce the thickness of the microcontroller on fabric so the wearer does not accidentally snap it off. We tried both on flex breakout that has sewable pads and directly soldered on the thread. At the end, we decided on direct solder connection as it is less visible. Our concern was to keep them fixable when the connection breaks. Both the solution are easily fixable.
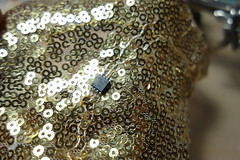
So, here is the final microcontroller connection. We’ve added stiff backing so there are some support to the solder joints.
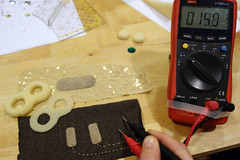
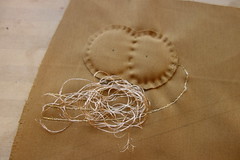
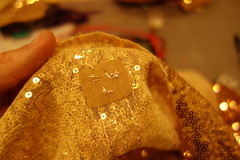
When Hannah was making fabric buttons on the pocket lining, she noticed strange behavior of the buttons. no matter how thick the spacer is, it is super sensitive… and we noticed this lining fabric we bought at Turkish market for 2 Euro/m is conductive!!
This is a bad bad news for us as we placed the entire flora connection on this fabric. Good thing we did not connect the flora yet, otherwise it is short circuiting all the pins. The entire liner is made with this fabric, and it will also short circuit all the inner side connection. We have to remake entire liner now. Well, the good news is that we now have a super cheap conductive fabric!

OK, we forgot to take pictures of new liner fabric, but someone described it as “Russian Pajama”. well, maybe you can guess how it looks like. it is also in golden color, but not conductive. Yes, we double checked it with multimeter before cutting them.
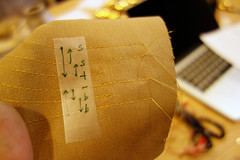
We used thicker fabric for pocket liner (not the Russian Pajama fabric) and placed all the connection lines with sewing machine. Connection to Flora is made with hand sewable snaps. As all the control line and power connections gather at pocket liner, we needed to mark the lines.
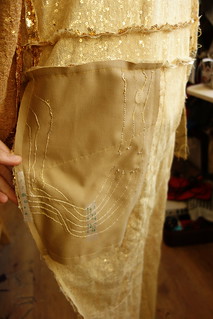
this is how the back of the pocket looks like after connecting them all together.
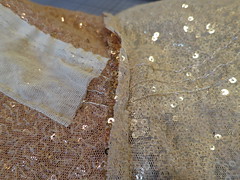
ATTINY to Flora connections are placed on the back side of the sequin fabric, mostly by couching stitch by hand, so that it does not effect the charlieplex circuit on the face side. The traces on the back of the sleeve is also covered with extra fabric to isolate in case you role up the sleeve.
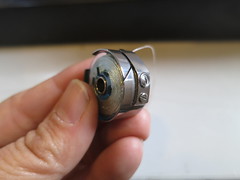
We used flat USB powerbank to power the system. These powerbanks has energy saving mode and if you do not suck enough current, it goes into sleep mode. To avoid this, we needed to add extra resister between + and – so it always drain enough current. We used 3x 1W 100 ohm resister in parallel. Probably one can use 1x 47 ohm 2-3W resister, but this was what we had in the studio, as quick fix.
Sound detector connection. also with sewable snaps.

Tow buttons on the pocket. By double clicking the outer button, one can initiate calibration sequence to adjust to the noise level. Also holding both buttons for 2 seconds enters fine tune mode, which let you adjust the threshold by using buttons to go up and down. Neopixel RGB light display on the sleeve shows if you are on calibration mode (blue), adjustment amount and trigger timings.
Code used for ATTINY and Flora is here >> https://github.com/mikst/Discolele
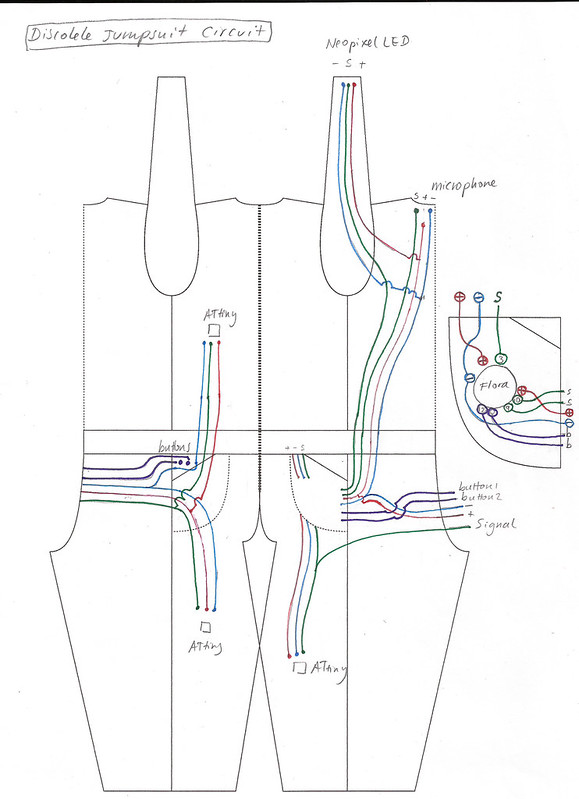
Layout and connection diagram
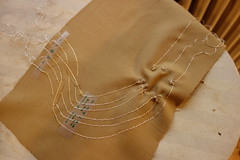

Diagram of the pocket connection
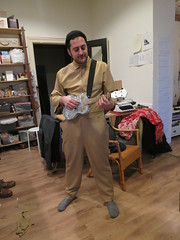
Final fitting!
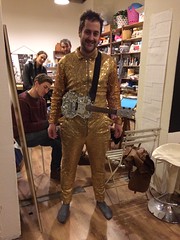
and it is working!