Lulu Daisy Designs v1
While Maurin is working on the Lulu Star versions, we are attempting to test various ideas for a Lulu Daisy design that would contain:
– these mini neopixels
– power capacitor
– (resistor)
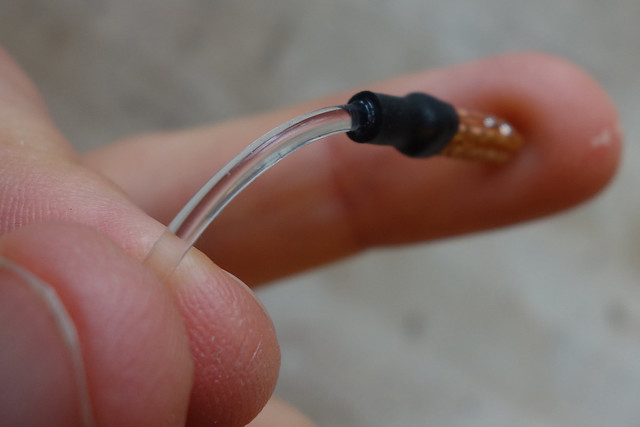
– fiber coupling: solder brass tube, shrink-tube, custom 3D print
– e-textile sewable contacts (+ solder knot pad)
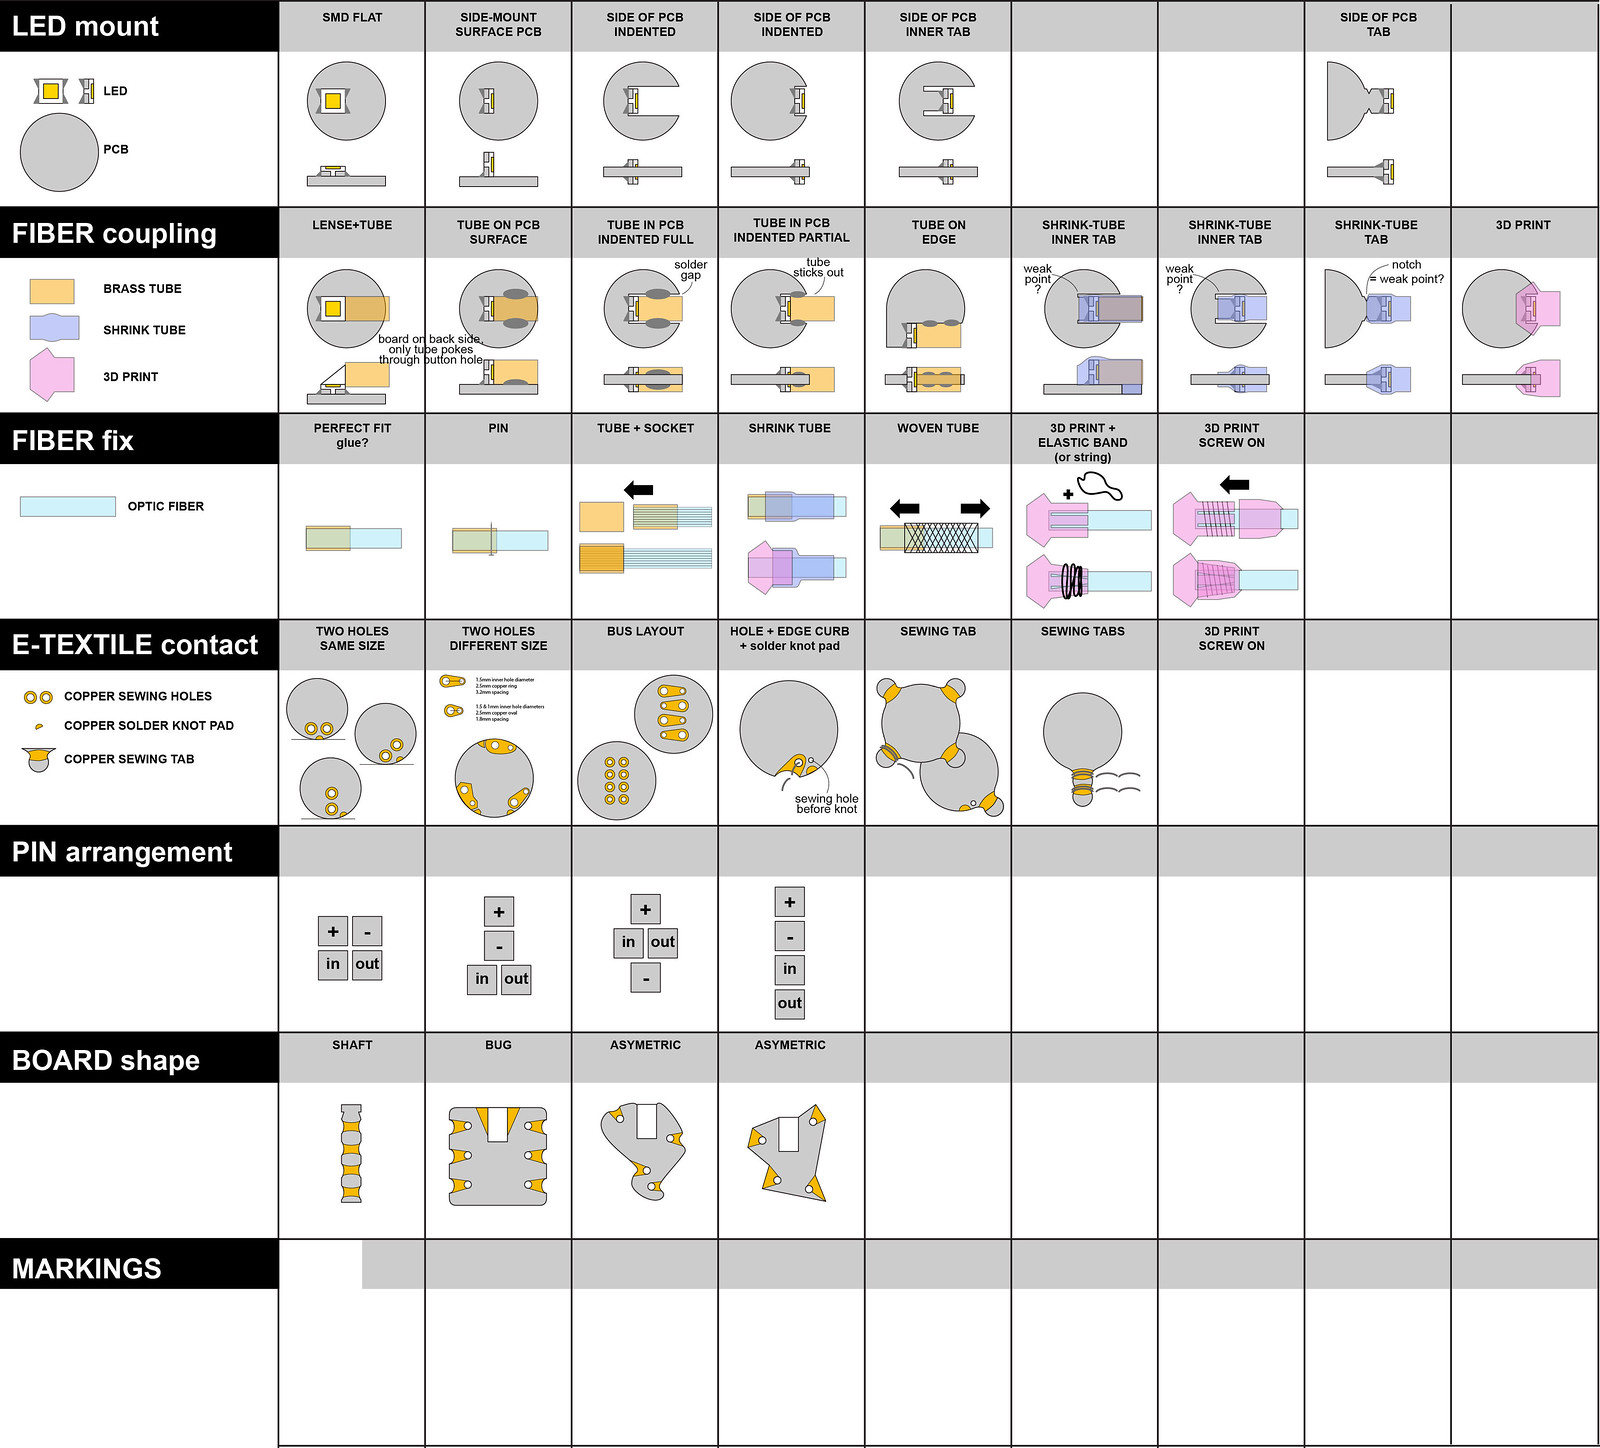
Proposal for three varying design to test following options:
– Board shape
– PCB thickness
– LED mount
– Fiber coupling
– Fiber fix
– E-Textile contact
– Pin arrangement (+,-,i, o)
– Markings (copper, soldermask)
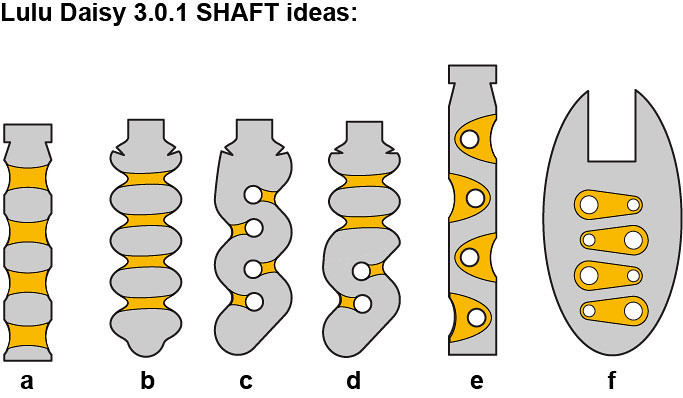
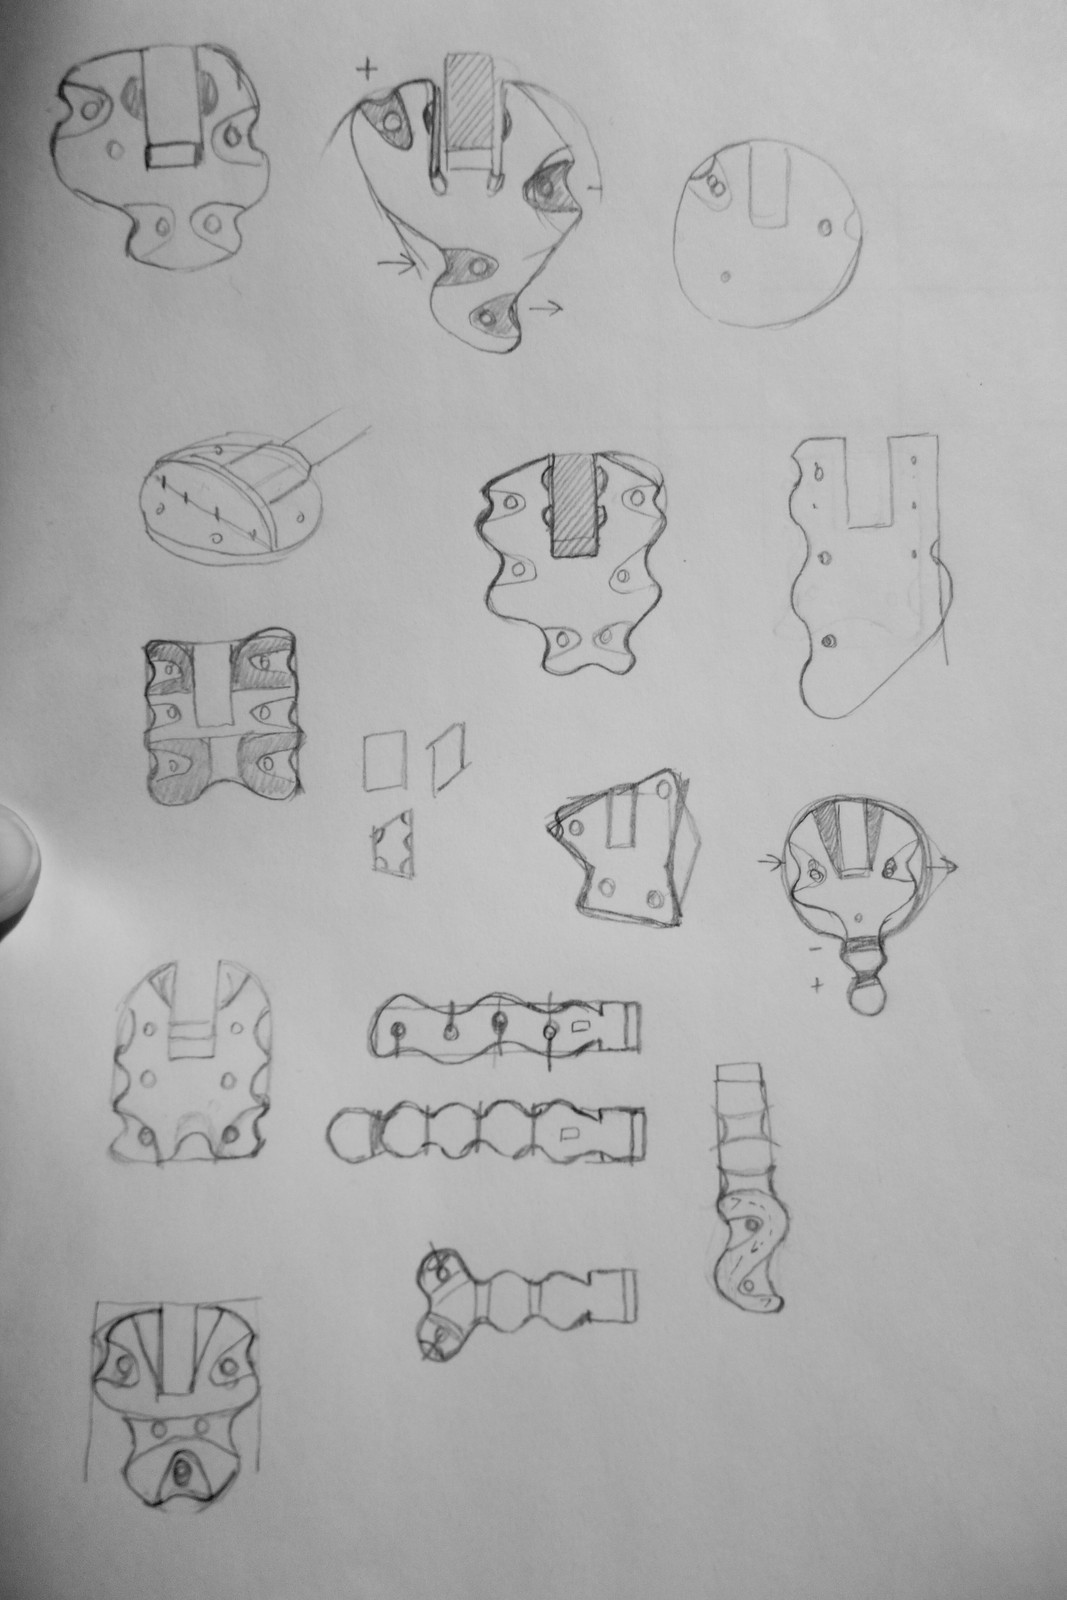
3.0.0 -> Lulu-daisy/SHAFT
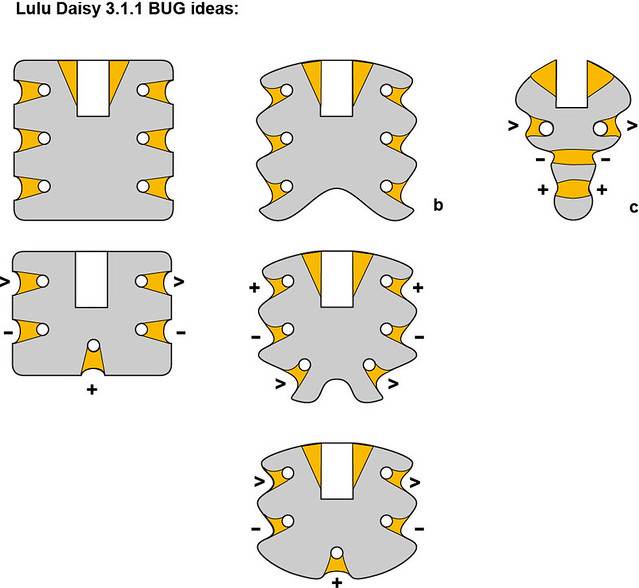
3.1.0 -> Lulu-daisy/BUG
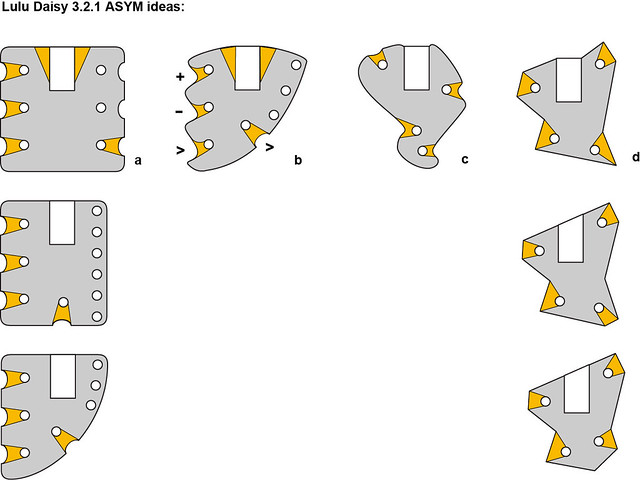
3.2.0 -> Lulu-daisy/ASYM
3.0.1 – Lulu-daisy/SHAFT v1
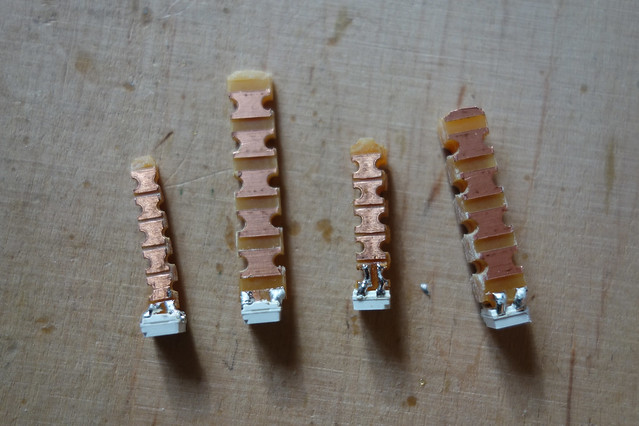
Inspired by the bumblebee breakout, this design keeps all connections in one long line.
Board shape: long skinny design
PCB thickness: 3mm (or 2mm)
LED mount: side of PCB at end of tab
Fiber coupling: shrink-tube over PCB tab, LED, fiber
Fiber fix: shrink-tube
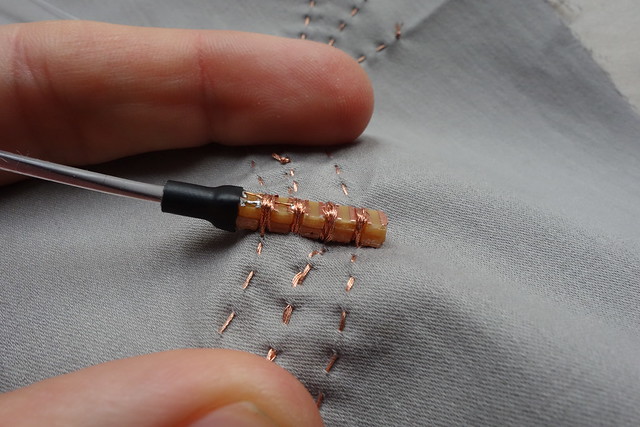
E-Textile contact: line of sewing tabs, knotting hole and pad
Solder-knot pad: yes
Pin arrangement: +,-,i, o
Markings: ?Volt, -, >>, > (turn upside down if traces are coming from different side)
3.1.1 – Lulu-daisy/BUG v1
This design tries to be compact by arranging all the e-textile contacts around the fiber coupling mounted in the center of the PCB.
Board shape: compact, bug-like
PCB thickness:
LED mount:
Fiber coupling:
Fiber fix:
E-Textile contact:
Pin arrangement: +,-,i, o
Markings:
3.2.1 – Lulu-daisy/ASYMETRIC v1
This design is tries to simplify the BUG idea by having only one e-textil contact per pin and in doing so becomes a-symetric.
Board shape: asymmetric, compact
PCB thickness: 1-3mm
LED mount:
Fiber coupling: solder pads for brass tube and 3D printed design
Fiber fix: shrink-tube over brass tube i this protrudes. could also be solved in 3D printed coupling design
E-Textile contact: single hole on PCB, edge curb copper
Solder-knot pad: yes
Pin arrangement: +,-,i, o
Markings:
SKETCHES
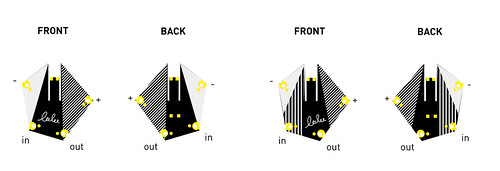
sketches of pentagon shaped lulu daisy. The silkscreen pattern indicates which pin is what…
