Example Projects
Workshops
Announcements
Actuators
Connections
Power
Sensors
Traces

Circuits and Code Wireless

Meet the Materials
Conductive Materials
Non-Conductive Materials
Tools
Techniques
Thinking Out Loud
Example Projects
  • Action Figure Motion-Capture
  • Alpaca T-Shirt Hack
  • Aluminum Foil Tilt Sensor
  • Amplified Pillow Speaker
  • Sockpuppets
  • ATtiny Snap Diamond
  • ATtiny Drawdio Bracelet
  • ATTINY POV
  • Bela + Blanket
  • Bend Sensor Glove
  • Breathing Belt
  • Corset Breathing Sensor
  • Data Logging Broach
  • Datagloves Overview
  • DIY Arduino Data Gloves
  • DJ Hoodie
  • DressCode Dress Shirt
  • DressCode Examples
  • DressCode Necklace
  • DressCode Vest
  • E-Textile Datagloves Overview
  • E-Textile Sensor Wall
  • Eeontex Projects
  • Example Circuits and Code
  • Fab Intro: Continuity Bracelet
  • Fabric JoyPad
  • Frequency Finger Gloves
  • glovephone
  • Granny Square MIDI
  • Grias Di Hut
  • Jenny’s Playlist Costume
  • JoySlippers
  • Jumpsuit for actionman
  • Interactive KnitBook
  • lulu masks
  • Lulu optic fiber swatches
  • Massage my feet
  • Mouse in a Hole
  • Multiplexed Pillow
  • Musical Pillow
  • My Segments Display
  • Necklace Display - Beaded LED Matrix
  • Neoprene LED Light Pouch
  • Openwear Finger Bend Sensor
  • Penguin Control
  • Piano T-Shirt
  • Capacitive LED Fower
  • Puppeteer Costume
  • Puppeteer Gloves
  • Safetypin Dataglove
  • Sensitive Fingertips
  • Sensor Sleeve
  • Silent Pillow Speaker
  • soft walk socks
  • Solar T-Shirt
  • Solar T-shirt II
  • Sonic Insoles for Magic Shoes
  • Star Light
  • Stretch Sensitive Bracelet
  • Stirring Queen Mask
  • Textile Sensor Demo Station
  • Tie-Poly Leggings and Dataglove
  • Tilt Sensing Bracelet
  • Tilt Sensor Demo
  • Time Sensing Bracelet
  • Touch Sensitive Glove
  • TrafoPop LED Jacket
  • Wearable Sound Experiment
  • Wearable Toy Piano
  • Wearable Waste of Energy
  • Wireless JoySlippers
  • Wireless Tilt Sensing Bracelet
  • Support the creation of content on this website through PATREON!
  • About
  • E-Textile Events
  • E-Textile Spaces
  • Newsletter
  • Print & Publications
  • E-Textile Shopping

  • SEARCH
    Content by Mika Satomi and Hannah Perner-Wilson
    E-Textile Tailor Shop by KOBAKANT
    The following institutions have funded our research and supported our work:

    Since 2020, Hannah is guest professor of the Spiel&&Objekt Master's program at the University of Performing Arts Ernst Busch in Berlin

    From 2013-2015 Mika was a guest professor at the eLab at Kunsthochschule Berlin-Weissensee

    From July - December 2013 Hannah was a researcher at the UdK's Design Research Lab

    From 2010-2012 Mika was a guest researcher in the Smart Textiles Design Lab at The Swedish School of Textiles

    From 2009 - 2011 Hannah was a graduate student in the MIT Media Lab's High-Low Tech research group led by Leah Buechley


    In 2009 Hannah and Mika were both research fellows at the Distance Lab


    Between 2003 - 2009 Hannah and Mika were both students at Interface Cultures
    We support the Open Source Hardware movement. All our own designs published on this website are released under the Free Cultural Works definition
    Example Projects

    Data Logging Broach

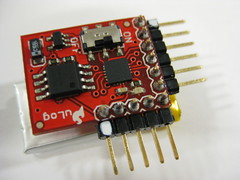
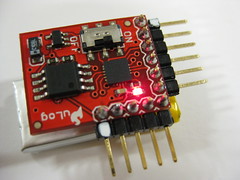
    Using Sparkfun’s uLog datalogging module to log tilt data a three-way fabric tilt sensor for up to three hours and then visualizing this with the help of a Processing sketch.

    links:
    Data logging >> http://www.kobakant.at/DIY/?p=2123
    Sensor Sleeve example >> http://www.kobakant.at/DIY/?p=2542
    Sparkfun uLog >> http://www.sparkfun.com/commerce/product_info.php?products_id=9228
    Download processing sketch >> http://web.media.mit.edu/~plusea/downloads/SockLogger_uLog.zip
    Download arduino/lilypad sketch to read and send first 3 analog sensor inputs:
    >> http://web.media.mit.edu/~plusea/downloads/SockLogger_Arduino.zip
    Download processing sketch for real-time graph of first 3 analog sensor inputs:
    >> http://web.media.mit.edu/~plusea/downloads/SockLogger_lily.zip
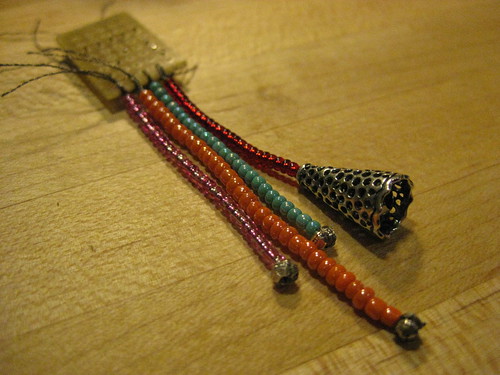
    MATERIALS
    * Sparkfun’s uLog – The Lil’est Logger (20$)
    * Sparkfun’s Basic FTDI Breakout Board (15$)
    * Male and female header connections
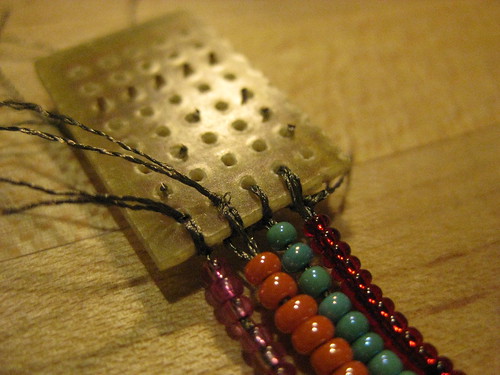
    * Series of three 10 K Ohm pull-up resistors soldered to a piece of perforated circuit board

    SOME FACTS
    * uLog runs on 3.3V (5V will kill it!!! Or at least I think this is what happened to my first board, and in the AT45DB161D datasheet is says “Single 2.5V – 3.6V or 2.7V – 3.6V Supply”)
    * If connecting with a Sparkfun FT232 Basic 5V breakout board, you only want to connect TX, RX and ground and power seperately!!!
    * If connecting with a Sparkfun FTDI Basic 3.3V breakout board you can power it from the the FTDI board directly
    * When connecting/communicating with uLog to read/erase data use 38400 baudrate!!!
    * Type “r” for read and “e” for erase
    * Erasing the flash sets all addresses to 0xFFFF, and reading dumps all the data up to the first 0xFFFF
    * If there’s no UART line attached it starts sampling from the sensor inputs (if no sensors are attached it will sample noise)
    * Blinks at second intervals when reading sensor data (powered up and not connected to UART = rx,tx,gnd)
    * Does not blink or light up at all when communicating over serial (powered up and connected to UART = rx,tx,gnd)
    * Blinks like crazy when erasing data

    STEP 1)
    Build your sensor! Connect it to the pull-up resistor board.
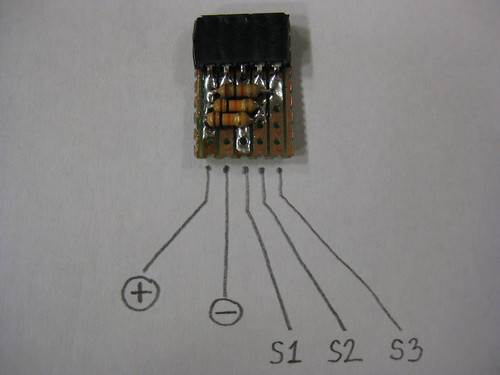
    STEP 2)
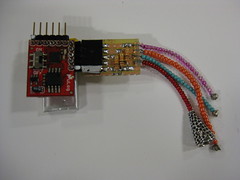
    Connect your sensor to the uLogger.
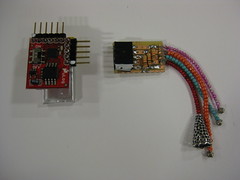
    STEP 3)
    Turn on the uLog module and the red LED light should blink every second while it logs sensor data for up to 2 hours.
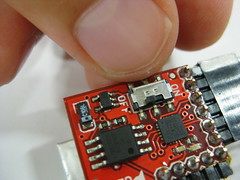
    STEP 4)
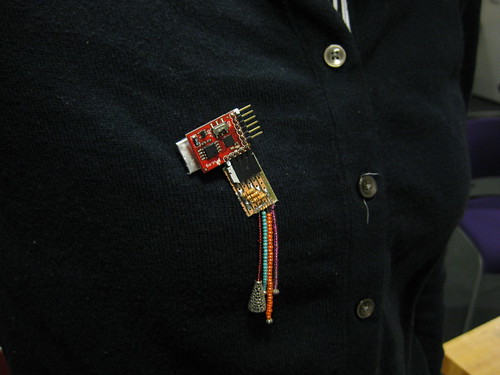
    Wear your sensor and log data for up to 2 hours.
    STEP 5)
    Turn off the uLog module and unplug your sensor.

    STEP 6)
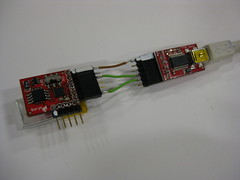
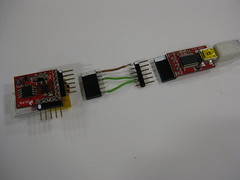
    Pug the uLog into the FTDI board using the adaptor.
    STEP 7)
    Turn on the uLog while it is connected to the FTDI board and this is powered by a mini USB cable going to your laptop. This time the red LED will not blink, indicating that the uLog module is in serial communication mode.

    STEP 8)
    Run the Processing application by pressing the “play” button in the top left hand corder of the window. Type “r” to read sensor data, type “e” to erase the sensor data.
    If you press “r”: The graph application will graph the incoming sensor values as they come in, and then zoom out to display them all in one graph.
    If you press “e”: watch the uLog module as the red LED light blinks like crazy. Once it has stopped blinking you can disconnect it from the FTDI board and start recording new data.




    Leave a comment