19-21 May 2014 in the course 101 (one-o-one) at the Kunsthochschule Weissensee in Berlin, Germany
This “workshop” is a guest lecture plus hands-on exercise in re-imagining techniques for making electronics that are integrated in different kinds of material and craft processes.
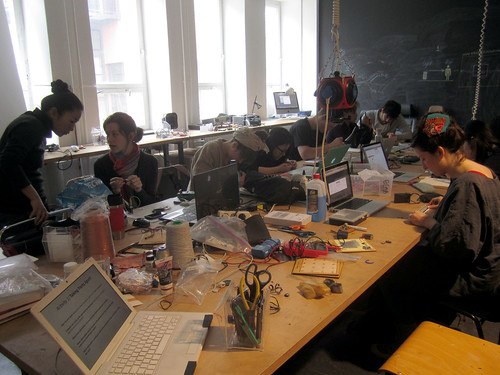
A Kit-of-No-Parts
Recipes for Materially Diverse, Functionally Transparent and Expressive Electronics
– Material Diversity?
– Functional Transparency?
– Expressivity?
A Kit-of-No-Parts demonstrates a new approach to building electronics that emphasizes the expressive qualities of
diverse materials as well as the skill and creativity of the builder. It builds on the belief that a more insightful and
skilled process is also capable of producing more intelligible and personal results. Conventionally
electronics that are built from a kit‐of‐parts have been optimized for speed, efficiency and
repeatability of assembly. While this approach demonstrates the power of modular systems that
have made many of the technologies we rely on possible, it also constrains us to particular styles of
building, influencing what we build as well as impacting how we come to think about electronics.
Links:
>> Thesis
>> Website (unfortunately it is down)
>> Photobook
>> Poster
>> Flickr photo set
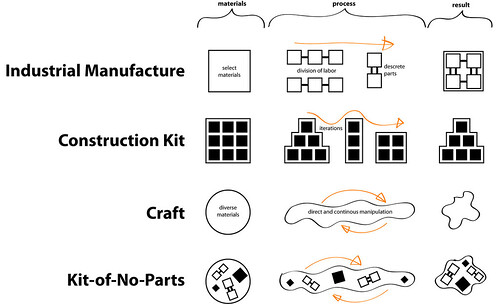
Kit-of-Parts
“Kit-of-parts Theory refers to the study and application of object-oriented building techniques, where building components are pre-designed / pre-engineered / pre-fabricated for inclusion in joint-based (linear element), panel-based (planar element), module-based (solid element), and deployable (time element) construction systems.” (taken from http://en.wikipedia.org/wiki/Kit-of-parts)
Parts Today
Current methods of manufacturing PCBs today.
Old Parts
A brief history of electronics.
Examples of Materially Diverse Electronics
– Sculpted and Plated Circuits
– Painted and Carved Wood Circuits
– Lasercut Circuits and Press-fit Connections
– Gold-Leaf Circuits
– Copper Tape Circuits
– Painted and Plated Circuits
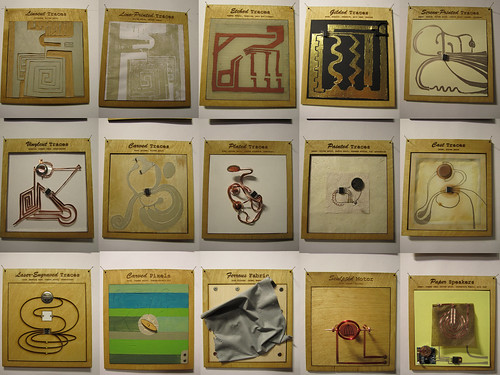
Recipes
Function => Part (Material, Process)
Function + Material + Process => Recipe
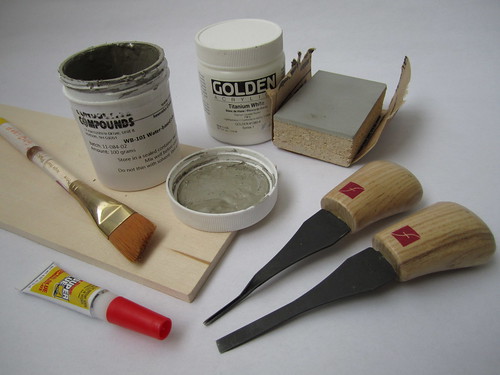
Activity 1: Taking Parts Apart
Take the part apart – apply force where necessary, don‘t worry about breaking it!
The goal of this activity is to reverse-engineer a discrete component in order to understand how it works and how it was made. Further, you should attempt to analyze why it was made/manufactured a certain way (“Industry Archeology”). Look at the datasheet to see how much it tells you, and how it compares to taking the part apart and looking “inside”.
Ask yourself:
– Compare the inside of the part with the datasheet – what kinds of information does the datasheet provide?
– What more information can you get from examining the part‘s insides?
– What information would you add to the datasheet to help somebody better understand how the part works?
– What information would you add to the datasheet to help somebody re-make the part?
– What manufacturing methods were used to produce this part? (cutting, molding, soldering… )
– Was this part assembled by hand or machine?
– Why were certain materials chosen to make this part? (function, cost, aesthetics… )
Parts to take apart:
A Speaker
>> http://www.farnell.com/datasheets/85562.pdf

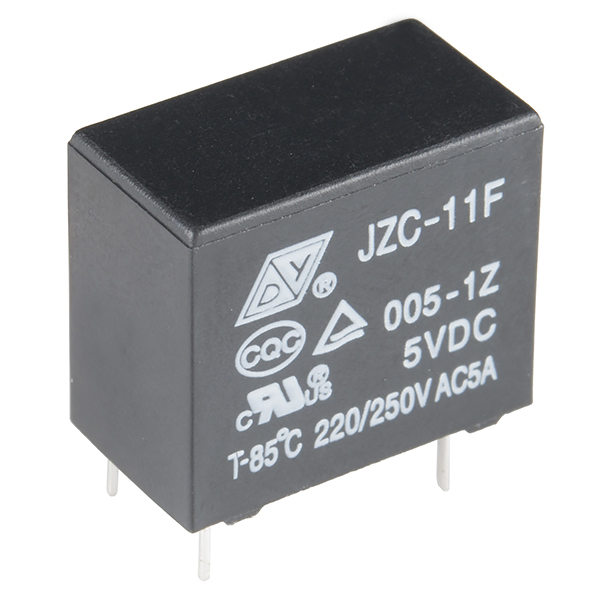
A Relay Switch
>> https://www.sparkfun.com/datasheets/Components/General/JZC-11F-05VDC-1Z%20EN.pdf
A Potentiometer Knob
>> http://www.bourns.com/data/global/pdfs/3006.pdf
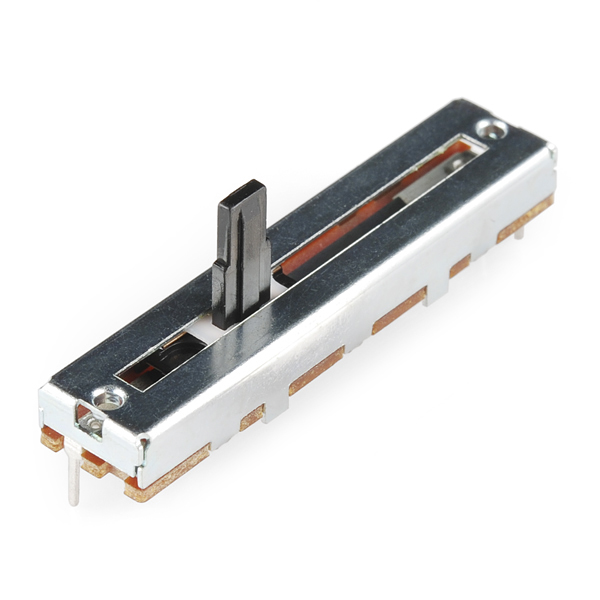
A Potentiometer Slider
>> http://dlnmh9ip6v2uc.cloudfront.net/datasheets/Components/Switches/C-31-.pdf
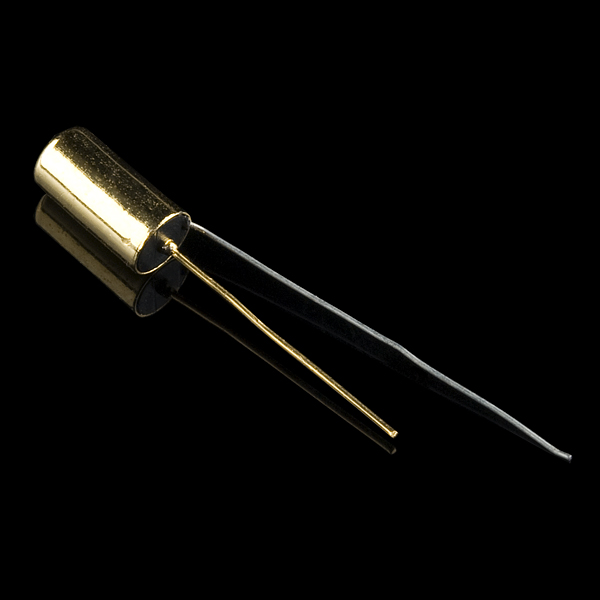
A Tilt Switch
>> https://www.sparkfun.com/datasheets/Sensors/Ball-Rolling%20Switch%20AT.pdf
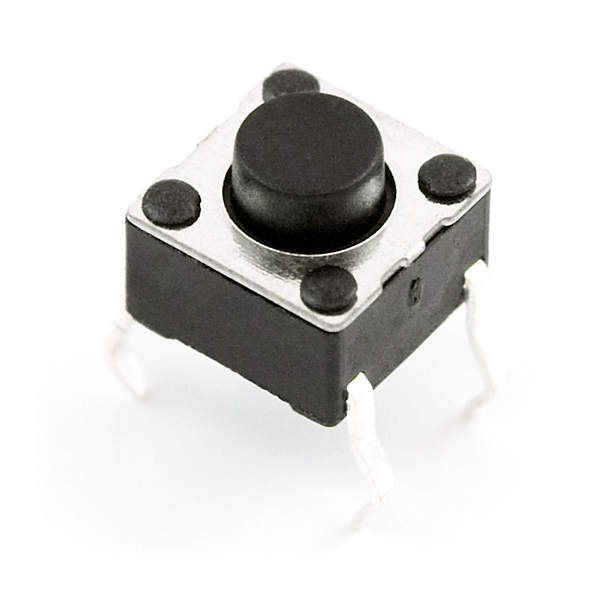
A Pushbutton
>> https://www.sparkfun.com/datasheets/Components/General/00097.jpg
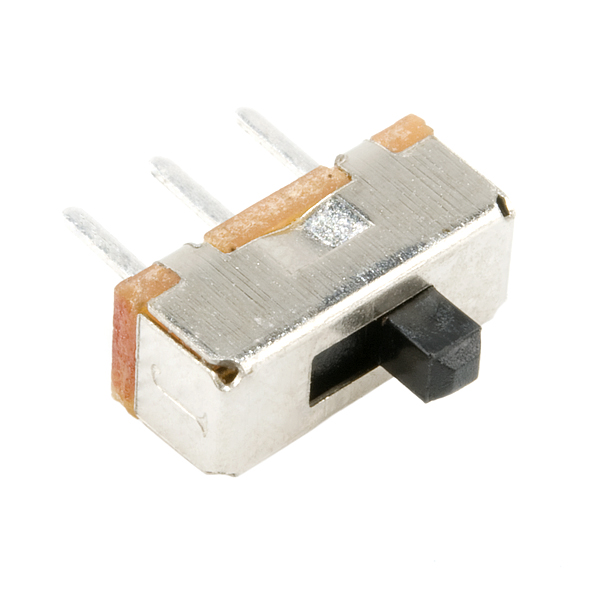
A Slide Switch
>> http://dlnmh9ip6v2uc.cloudfront.net/datasheets/Components/Switches/1193302209860_SS12D01-A.gif
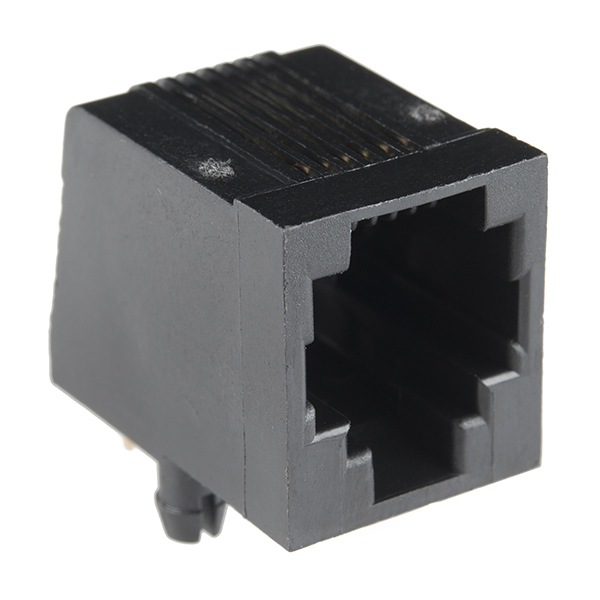
A Connector (RJ11 Socket and Plug)
>> https://www.sparkfun.com/datasheets/Prototyping/Connectors/RJ11-Datasheet.pdf
A Connector (Audio Jack and Socket)
>> https://www.sparkfun.com/datasheets/Prototyping/Audio-3.5mm.pdf

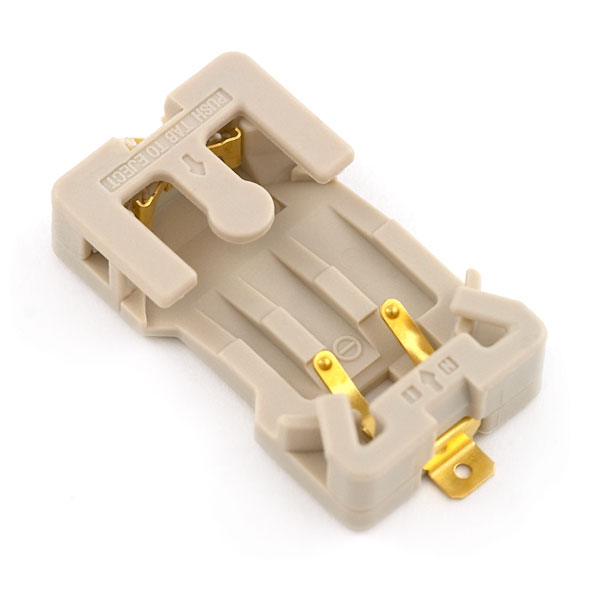
A Battery Holder
>> https://www.sparkfun.com/datasheets/DevTools/LilyPad/BA2032SM.pdf
Activity 2.1: Inventing “No-Parts” (Brainstorming)
The goal of this activity is to re-design the part you took apart in the previous exercise, and re-imagine it to be integrated as part of a making process.
Decide on one process and one material you want to focus on. You will probably need to use additional processes and materials to develop your recipe. In the “Mapping a Space” section of the Kit-of-No-Parts thesis (pages 17 – 19) you will find a description of such a process.
– Make a list of all the different processes (tools, techniques) for making things that you can think of
– Make a list of all the materials (conductive and non-conductive) that are involved in the processes you listed
– Find a way to visually organize these lists (tools, techniques, materials)
– Look at your „map“ and use it to generate ideas for new ways of making electronics
– Sketch out your ideas and list things you want to try
– Distill a tool/technique and a material you want to focus on (it can be something you are already familiar with, or something new to you)
>> for example: lasercutting wood, carving wax, painting on glass, cutting styrofoam…
– How might you apply the process you have selected and the material to achieve the functionality of the part you took apart?
Activity 2.2: Inventing “No-Parts” (Research)
From the list of things you want to try (see previous activity), begin a process of researching the materials and techniques that are, or could be involved in your process. Search the classroom, school and Internet for possible resources. In the “Sourcing Supplies and Information” section of the Kit-of-No-Parts thesis (pages 20 – 25) you will find a description of such a process.
Since this is a one-day exercise, there will not be time to obtain every material or tool. Think freely and widely at first and use this research process to help inspire yourself. But in the end you will need to bring it back to something you can begin to work on in class.
Activity 2.3: Inventing “No-Parts” (Experimenting)
The goal of this activity is to set yourself a concrete challenge and go through a process of solving it. From the previous three activities (Taking Parts Apart, Inventing “No-Parts” Brainstorming & Research) you should have selected an electric function, a technique and a material to focus on.
>> For example: pushbutton (“making contact between two conductors when force is applied”) + melting wax + gold leaf
In the “Producing Samples” section of the Kit-of-No-Parts thesis (pages 26 – 37) you will find a description of such a process.
Activity 3: Document your Recipe
Document your process in the form of a recipe so that somebody can understand your process, repeat what you have achieved, and build upon your work!
Unfortunately the Kit-of-No-Parts website containing all the recipes is currently down, but in the “Documenting Recipes” section of the Kit-of-No-Parts thesis (pages 38-51) you will find examples.
Typically electronic functionality is packaged as a discrete part (resistor, capacitor, know, switch, motor…). Try to break with this approach to compartmentalizing functionality and instead integrate a design to achieve a certain functionality (for example “making sound”) into the process of making and the materials you are working with.
Instead of: Function => Part
Think: Function + Material + Process => Recipe
– Parts have datasheets so that you can use them, without having to understand how you could make them yourself
– Recipes are instructions that tell you how to make something
– Good recipes describe how to understand what you are making, so that you can learn to make decisions of your own
Your recipe should include:
– Short description of your initial goal. What was your starting point? Where did your process lead you?
– Photos, illustrations, sketches, diagrams, schematics that illustrate your process
– List of materials and tools that you used
– Comments on your process, that explain why you chose to use certain materials/techniques to achieve your initial goal
– Step-by-step instructions on how to make at least one instance of your process
– Describe what you learned from your process of refining your technique (what works well, what does not work, what are common mistakes, what parts of the process are difficult… )
– List at least one point of improvement for your design
Post the documentation of your recipe to the course website!
Activity 4: Swap and Continue
– Swap your documented recipes
– Use the information in the documentation you receive to do one of the following:
— try and replicate a successful result described in the documentation
— continue along the lines of the experimentation described in the documentation
Answer the following questions:
– How good is the documentation that you received at conveying the results (whether these results are instructions for a final design or the documentation of their process)?
– What information is missing? What further questions did you have to ask the person who wrote the documentation in order to make sense of it?
– How does the documentation compare to the datasheets for the parts that you took apart in the first activity? Is it well structured and organized for you to pick up and immediately understand?
– What value do you see in putting effort into documenting and sharing your process and the results with others?
– How might this process of documentation be useful to your in your practice?
Conductive Materials
– Copper tape
– Conductive fabrics
– Conductive threads
– Conductive yarns
– Velostat
– Eeontex fabrics
– Carbon paint
– Iron filings
– Graphite pencils
– Copper metal
– …
Materials
– Various papers
– Various tapes
– Various glues
– Wood
– Plexi
– Fabrics
– Threads, strings
– Thermochromic paint/pigment
– Copper sulphate
– …
Tools
– Scissors
– Cutter knives
– Pliers
– Screwdrivers
– Iron
– Soldering iron
– Lasercutter
– 3D printer
– USB microscope
– Photo cameras, video
– Voltage rectifier
– …






Leave a comment